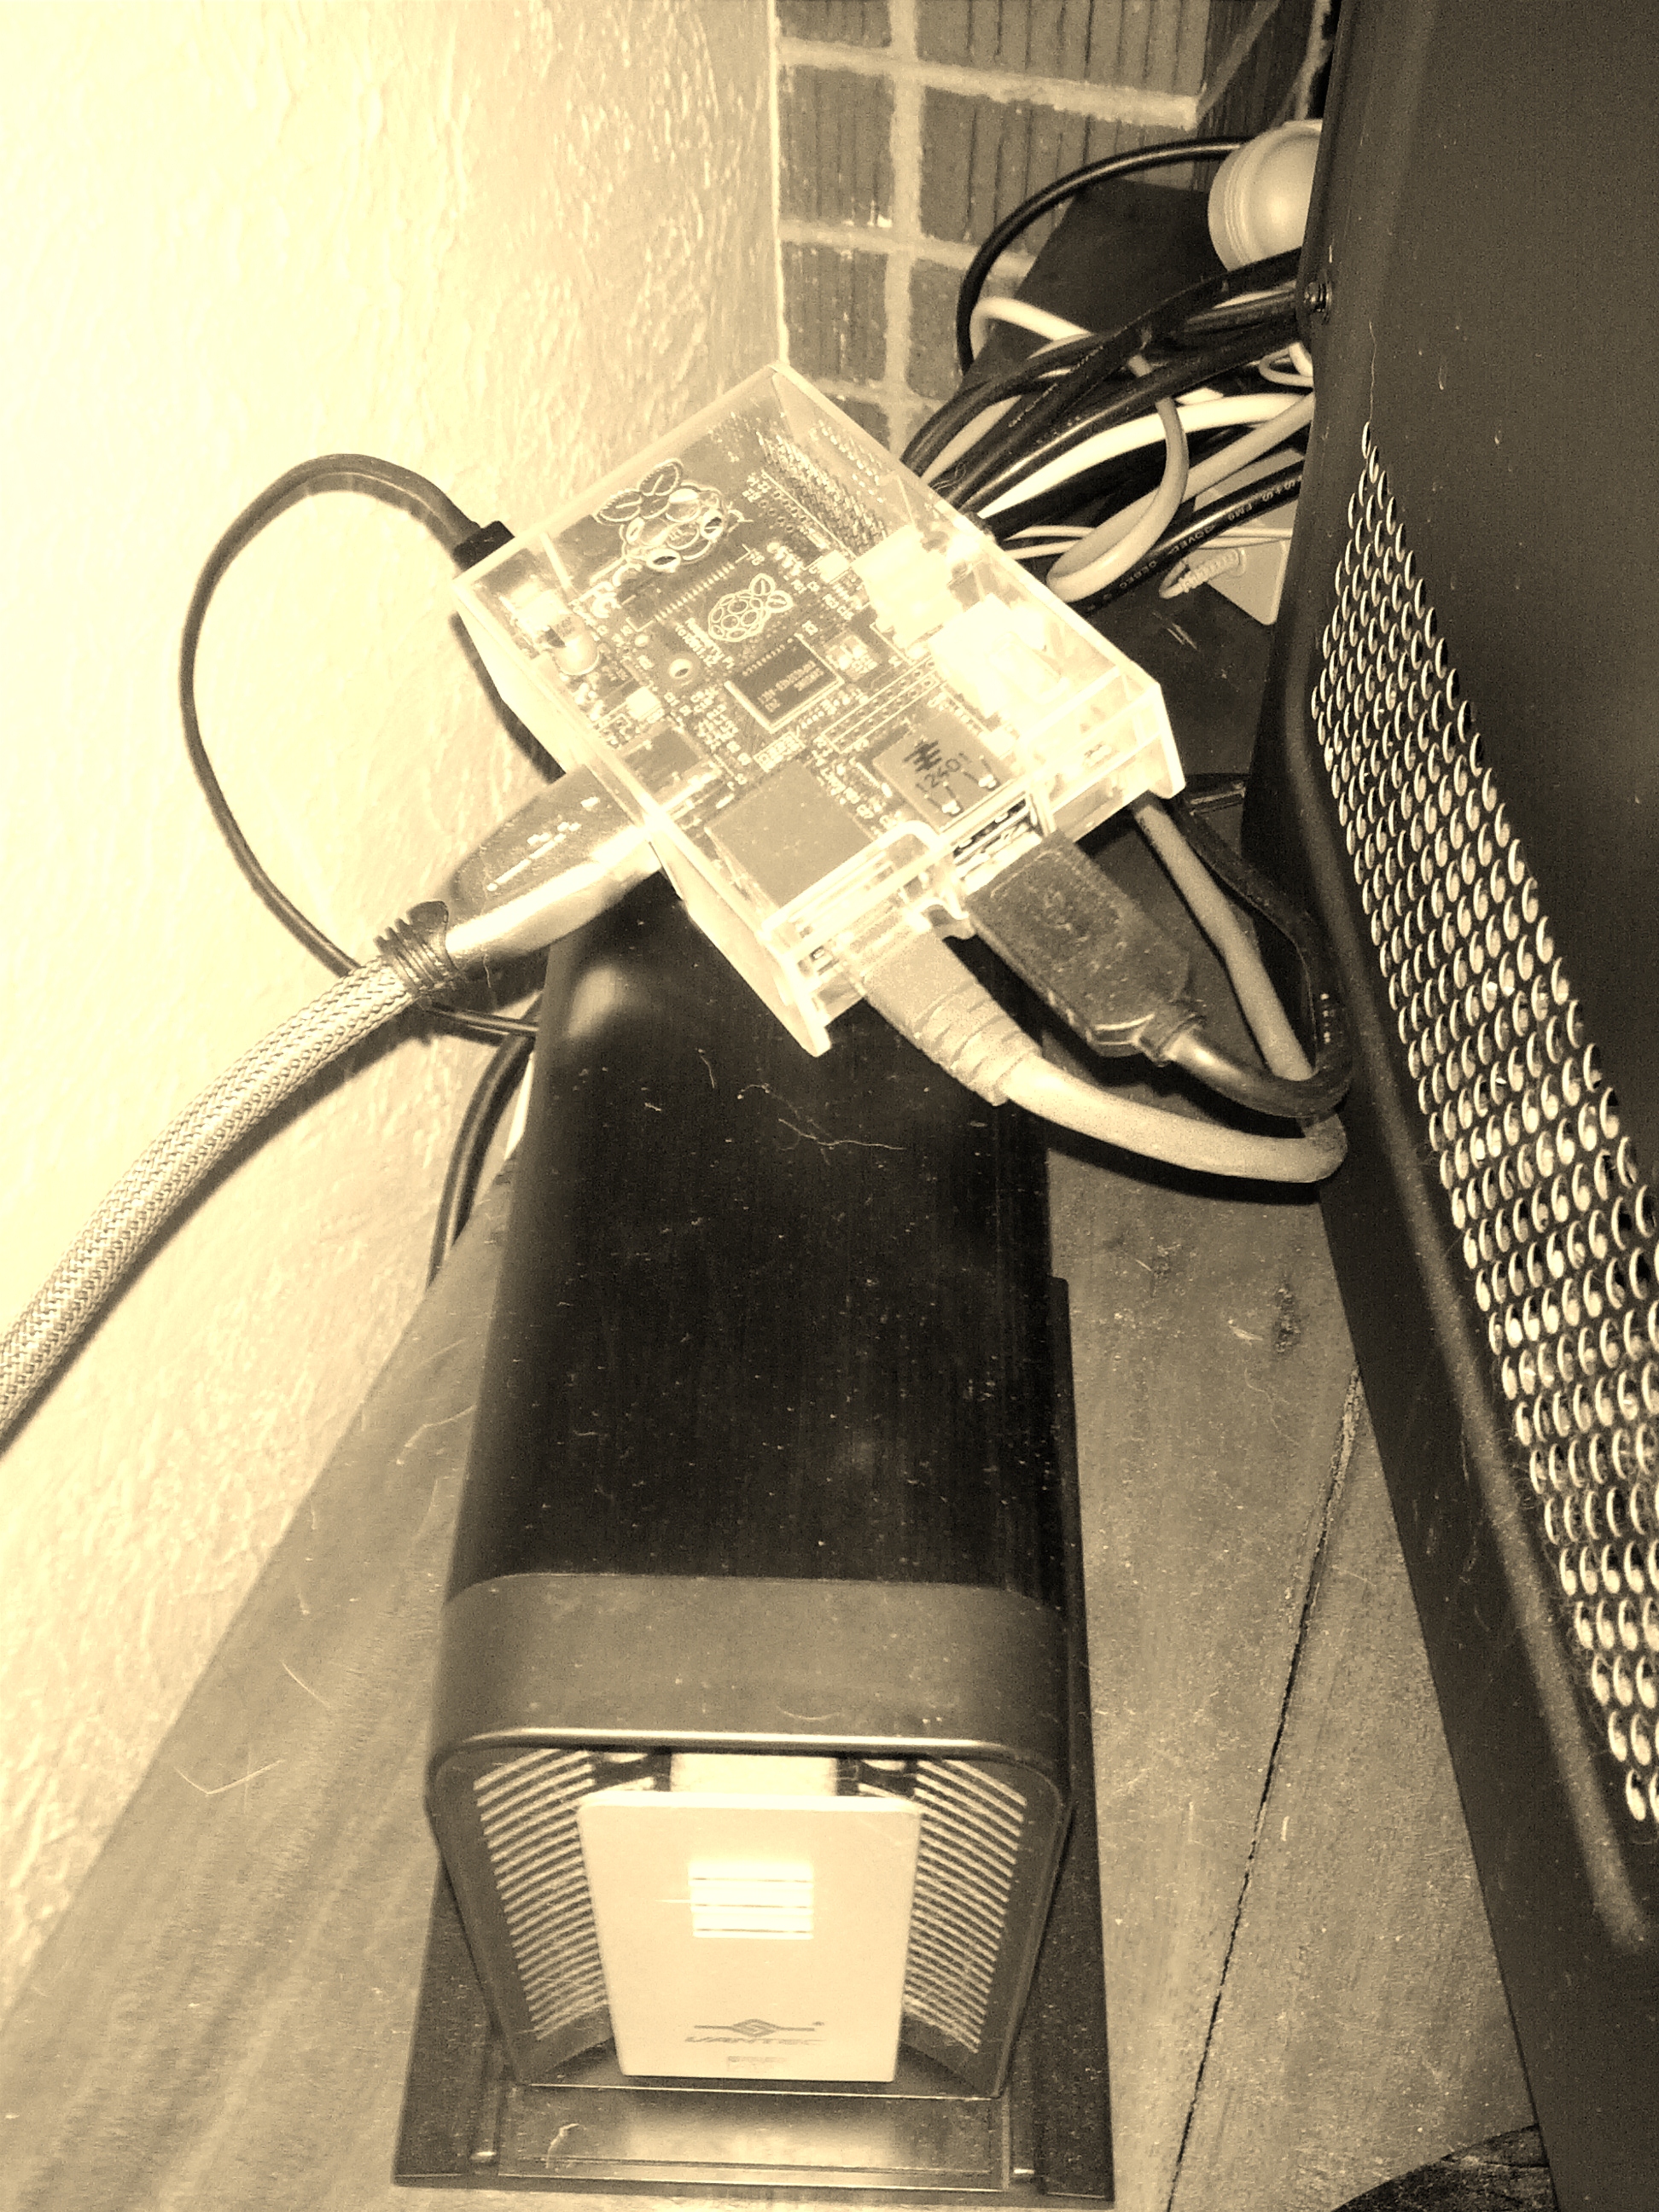
Remote access to your Raspberry Pi via the internet is a powerful tool that allows you to control your device from anywhere in the world without any cost. Whether you're a beginner or an advanced user, setting up remote access can significantly enhance your productivity and convenience. In this article, we'll explore the steps, tools, and best practices to achieve this securely and efficiently.
As more people adopt remote working and IoT solutions, the ability to access your Raspberry Pi remotely has become increasingly important. Whether you're managing a home automation system, running a server, or developing software, remote access simplifies your workflow. By leveraging free tools and services, you can achieve this without incurring additional costs.
In this comprehensive guide, we'll walk you through the process of setting up Raspberry Pi remote access via the internet for free. We'll cover essential topics such as network configurations, security considerations, and troubleshooting tips. By the end of this article, you'll have the knowledge and tools to securely access your Raspberry Pi remotely.
Read also:Erome Your Ultimate Guide To Understanding And Exploring
Table of Contents
- Introduction to Raspberry Pi Remote Access
- Benefits of Remote Access via Internet
- System Requirements for Setting Up Remote Access
- Methods to Access Raspberry Pi Remotely
- Setting Up SSH for Remote Access
- Configuring Port Forwarding
- Using Dynamic DNS for Free Access
- Securing Your Remote Connection
- Troubleshooting Common Issues
- Conclusion and Next Steps
Introduction to Raspberry Pi Remote Access
What is Raspberry Pi Remote Access?
Raspberry Pi remote access allows you to control and interact with your Raspberry Pi from any location over the internet. This feature is particularly useful for managing servers, automating tasks, or monitoring IoT devices. By setting up remote access, you can perform tasks such as file transfers, command executions, and system monitoring without being physically present.
There are several methods to achieve Raspberry Pi remote access via the internet. Some popular options include SSH, VNC, and third-party services like ngrok or localtunnel. Each method has its advantages and limitations, which we'll explore in detail throughout this article.
Benefits of Remote Access via Internet
Remote access via the internet offers numerous benefits for Raspberry Pi users. Firstly, it enhances convenience by allowing you to manage your device from anywhere. Secondly, it improves efficiency by enabling you to perform tasks remotely without the need for physical access. Lastly, it provides flexibility for projects that require continuous monitoring or maintenance.
- Convenient access from any location
- Improved productivity and efficiency
- Flexibility for IoT and server management
- Cost-effective solution with free tools
System Requirements for Setting Up Remote Access
Before you begin setting up Raspberry Pi remote access via the internet, ensure you meet the following requirements:
- Raspberry Pi device with Raspbian or any compatible OS installed
- Active internet connection with a stable router
- Basic knowledge of Linux command-line operations
- A secondary device (computer, smartphone, or tablet) for remote access
Additionally, it's important to have administrative access to your router for configuring port forwarding and dynamic DNS settings.
Methods to Access Raspberry Pi Remotely
SSH (Secure Shell)
SSH is one of the most popular methods for accessing Raspberry Pi remotely. It provides a secure and encrypted connection for executing commands and transferring files. To use SSH, you'll need to enable it on your Raspberry Pi and configure your router for port forwarding.
Read also:Best Remoteiot Web Ssh Raspberry Pi A Comprehensive Guide To Secure Remote Access
VNC (Virtual Network Computing)
VNC allows you to remotely control the graphical user interface (GUI) of your Raspberry Pi. This method is ideal for users who prefer a visual interface over command-line operations. VNC requires additional software installation and configuration on both the Raspberry Pi and the client device.
Third-Party Services
Third-party services like ngrok, localtunnel, and PageKite provide an easy way to expose your Raspberry Pi to the internet without complex configurations. These services offer free plans with basic features, making them a great option for beginners.
Setting Up SSH for Remote Access
To set up SSH for Raspberry Pi remote access, follow these steps:
- Enable SSH on your Raspberry Pi by navigating to
Raspberry Pi Configuration > Interfaces > SSHand selecting "Enable." - Find your Raspberry Pi's local IP address using the
ifconfigorip addrcommand in the terminal. - Install an SSH client on your remote device, such as PuTTY for Windows or the built-in Terminal app for macOS and Linux.
- Connect to your Raspberry Pi by entering the local IP address and your login credentials.
For remote access over the internet, you'll need to configure port forwarding on your router and use a dynamic DNS service to maintain a consistent connection.
Configuring Port Forwarding
Port forwarding allows external devices to access your Raspberry Pi through your router's firewall. To configure port forwarding:
- Log in to your router's admin panel using the default gateway IP address (e.g., 192.168.1.1).
- Locate the port forwarding or virtual server settings and create a new rule.
- Set the external port to 22 (default SSH port) and the internal IP address to your Raspberry Pi's local IP.
- Save the changes and test the connection using an external network.
Refer to your router's manual or manufacturer's website for specific instructions, as the process may vary depending on the model.
Using Dynamic DNS for Free Access
Dynamic DNS (DDNS) services help you maintain a consistent domain name for your Raspberry Pi's IP address, which may change periodically. Popular free DDNS providers include No-IP, DuckDNS, and Dynu. To set up DDNS:
- Create an account with a DDNS provider and register a domain name.
- Install the DDNS client software on your Raspberry Pi and configure it with your account credentials.
- Test the connection by accessing your Raspberry Pi using the DDNS domain name.
Using DDNS ensures that you can always access your Raspberry Pi remotely, even if your IP address changes.
Securing Your Remote Connection
Best Practices for Security
Securing your Raspberry Pi remote access is crucial to prevent unauthorized access and potential cyberattacks. Follow these best practices:
- Change the default SSH port to a non-standard port (e.g., 2222) to reduce automated attacks.
- Use strong, unique passwords or SSH keys for authentication.
- Enable firewall rules to restrict access to specific IP addresses or networks.
- Regularly update your Raspberry Pi's operating system and software to patch security vulnerabilities.
Two-Factor Authentication
Consider enabling two-factor authentication (2FA) for an extra layer of security. Tools like Google Authenticator or Duo Security can be integrated with SSH to require a secondary verification code during login.
Troubleshooting Common Issues
Here are some common issues you may encounter when setting up Raspberry Pi remote access via the internet:
- Connection Refused: Ensure SSH is enabled and the correct IP address and port are used.
- Port Forwarding Not Working: Verify the port forwarding rule in your router and restart the router if necessary.
- Dynamic DNS Not Updating: Check the DDNS client logs and ensure the service is running correctly.
If you encounter persistent issues, consult the official Raspberry Pi documentation or seek help from community forums.
Conclusion and Next Steps
In conclusion, setting up Raspberry Pi remote access via the internet for free is a valuable skill for any Raspberry Pi user. By following the steps outlined in this article, you can securely access your device from anywhere in the world. Remember to prioritize security and regularly update your system to protect against potential threats.
We encourage you to share this article with others who may find it useful and leave a comment below if you have any questions or feedback. For more in-depth tutorials and guides, explore our other articles on Raspberry Pi and related technologies. Happy tinkering!
Data Sources: