Secure Shell (SSH) is an essential protocol for securely connecting to remote servers and IoT devices. If you're a Mac user looking to leverage SSH for remote IoT management, this guide will walk you through the process step by step. From setting up SSH to troubleshooting common issues, we’ve got you covered.
SSH has become a cornerstone of modern networking, providing a secure way to manage devices remotely. Whether you're a developer, IT professional, or hobbyist working on IoT projects, understanding how to use SSH on a Mac is crucial. This article will provide you with all the necessary information to get started and ensure your connections are secure.
In today's interconnected world, IoT devices are everywhere. From smart homes to industrial automation, managing these devices remotely is essential. By mastering SSH on your Mac, you can streamline your workflow and enhance your project's efficiency. Let's dive into the details!
Read also:Sweetie Fox The Ultimate Guide To Understanding And Exploring The Phenomenon
Table of Contents
- Introduction to SSH
- Why Use SSH on Mac?
- Prerequisites for Using SSH
- Setting Up SSH on Mac
- Connecting to Remote IoT Devices
- Securing Your SSH Connections
- Common SSH Commands
- Troubleshooting SSH Issues
- Advanced SSH Configurations
- Conclusion and Next Steps
Introduction to SSH
SSH, or Secure Shell, is a network protocol that allows users to securely connect to remote servers or devices. It provides encrypted communication, ensuring that sensitive data, such as passwords and commands, cannot be intercepted by unauthorized parties. SSH is widely used in IoT projects for managing devices remotely, making it a critical tool for developers and IT professionals.
Key Features of SSH:
- Encrypted communication for secure data transfer
- Authentication methods, including passwords and SSH keys
- Support for file transfers via SFTP (Secure File Transfer Protocol)
- Port forwarding capabilities for tunneling traffic
By understanding the basics of SSH, you can better appreciate its role in remote IoT management and secure communication.
Why Use SSH on Mac?
MacOS comes with built-in support for SSH, making it an ideal platform for managing remote IoT devices. Here are some reasons why using SSH on a Mac is advantageous:
1. Built-In SSH Client
MacOS includes the OpenSSH client by default, eliminating the need for additional software installations. This makes it easy for users to start using SSH without any extra setup.
2. Seamless Integration
SSH on Mac integrates seamlessly with other Apple services and tools, providing a smooth user experience. Whether you're using Terminal or third-party applications, the process is straightforward and efficient.
Read also:Mira Duterte Unveiling The Remarkable Journey Of A Rising Political Figure
3. Security and Reliability
MacOS is known for its robust security features, and SSH is no exception. With strong encryption and authentication methods, you can trust SSH to protect your remote connections.
Prerequisites for Using SSH
Before diving into the SSH setup process, ensure you have the following prerequisites:
- A Mac computer running the latest version of MacOS
- An active internet connection
- Access to the remote IoT device or server, including its IP address or hostname
- A user account with SSH access to the remote device
Having these prerequisites in place will ensure a smooth setup process and prevent potential issues down the line.
Setting Up SSH on Mac
Setting up SSH on a Mac is a straightforward process. Follow these steps to get started:
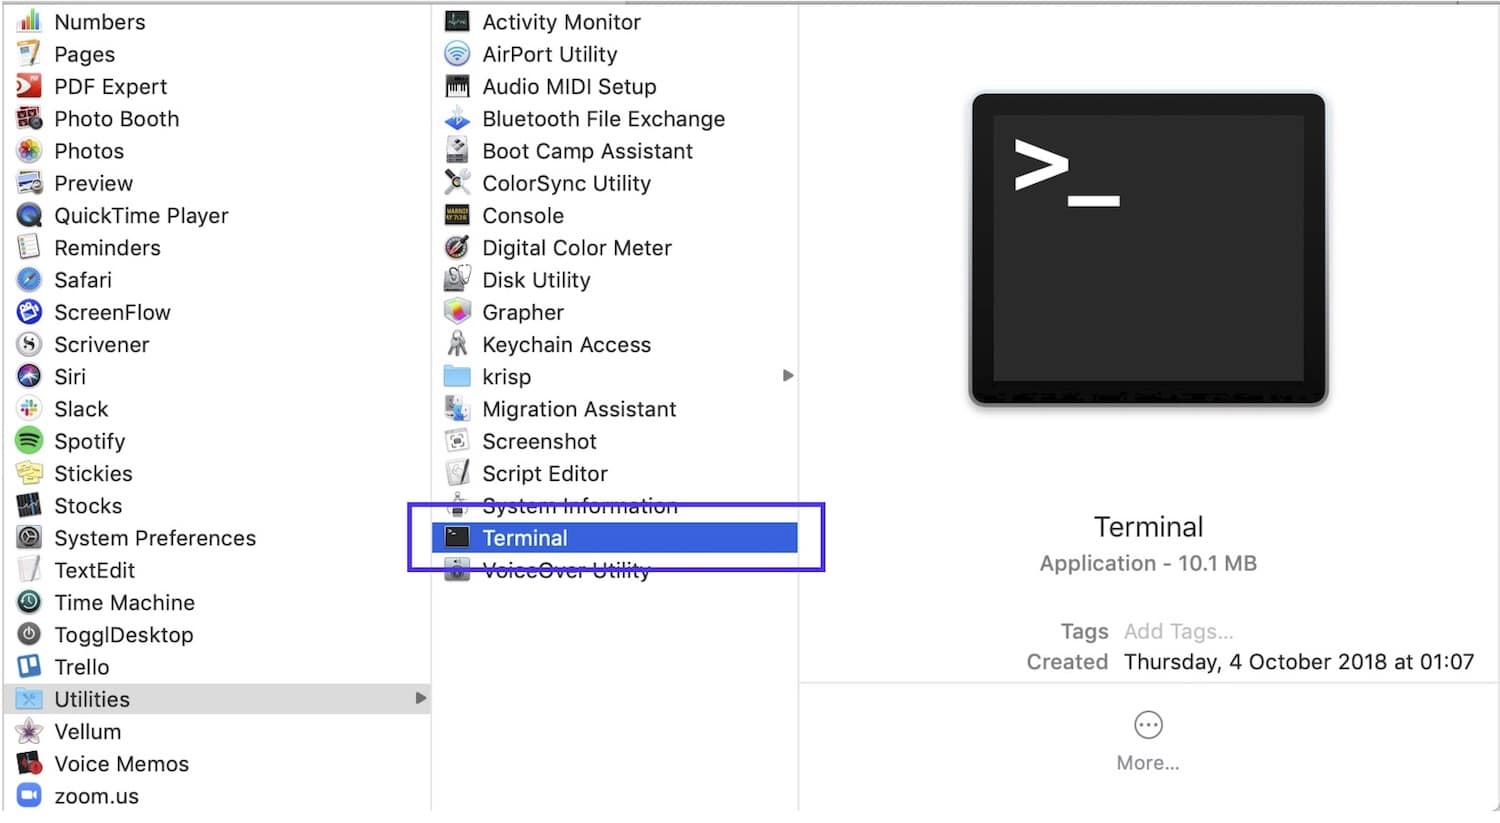
1. Open Terminal
Launch the Terminal application on your Mac. You can find it by searching for "Terminal" in Spotlight or navigating to Applications > Utilities > Terminal.
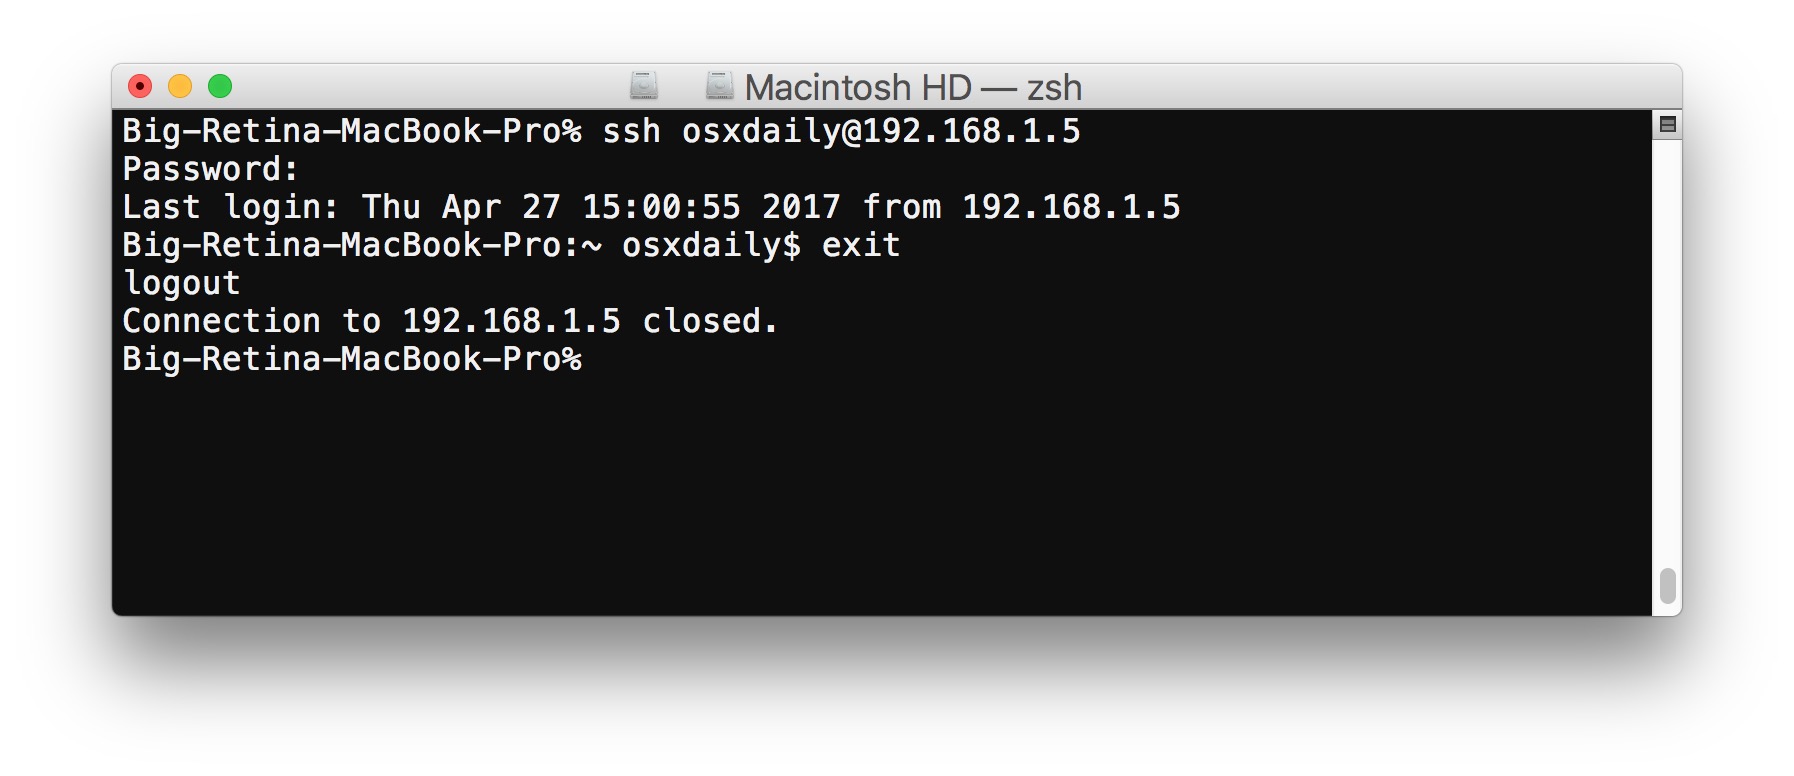
2. Test SSH Connectivity
Use the following command to test your SSH connection:
ssh username@remote_host
Replace "username" with your remote device's username and "remote_host" with its IP address or hostname.
3. Configure SSH Settings
You can customize your SSH settings by editing the SSH configuration file. Use the following command to open the file:
vi ~/.ssh/config
From here, you can add custom configurations, such as specifying a different port or setting up SSH keys.
Connecting to Remote IoT Devices
Once SSH is set up on your Mac, connecting to remote IoT devices is a breeze. Follow these steps to establish a secure connection:
1. Use SSH Keys for Authentication
Instead of relying on passwords, use SSH keys for enhanced security. Generate a key pair using the following command:
ssh-keygen -t rsa -b 4096
Copy the public key to the remote device using:
ssh-copy-id username@remote_host
2. Connect Using SFTP
For file transfers, use SFTP, which is built into SSH. Use the following command to connect:
sftp username@remote_host
This will open an SFTP session where you can upload and download files securely.
Securing Your SSH Connections
Security is paramount when using SSH for remote IoT management. Here are some best practices to secure your connections:
- Use strong, unique passwords or SSH keys
- Disable password authentication and rely solely on SSH keys
- Change the default SSH port (22) to a non-standard port
- Implement firewall rules to restrict access to specific IP addresses
- Regularly update your SSH client and server software
By following these practices, you can significantly reduce the risk of unauthorized access and ensure your connections remain secure.
Common SSH Commands
Here are some commonly used SSH commands to help you manage your remote IoT devices:
1. Establishing a Connection
ssh username@remote_host
2. Copying Files Using SCP
scp local_file username@remote_host:remote_path
3. Checking SSH Version
ssh -V
4. Listing Available SSH Keys
ls ~/.ssh
Troubleshooting SSH Issues
Even with proper setup, SSH issues can arise. Here are some common problems and their solutions:
1. Connection Refused
Ensure the SSH service is running on the remote device and that the firewall allows traffic on the specified port.
2. Permission Denied
Verify that the username and password or SSH key are correct. Check the remote device's SSH configuration file for any restrictions.
3. Timeout Errors
Check your internet connection and ensure there are no network issues. You may also need to adjust the SSH timeout settings.
Advanced SSH Configurations
For advanced users, SSH offers a wide range of configuration options. Here are a few examples:
1. Setting Up SSH Tunnels
Use SSH tunnels to securely forward traffic between your local machine and the remote device. For example:
ssh -L local_port:destination_host:destination_port username@remote_host
2. Configuring SSH Agent Forwarding
Enable SSH agent forwarding to allow the remote device to use your local SSH keys:
ssh -A username@remote_host
Conclusion and Next Steps
In this comprehensive guide, we've covered everything you need to know about using SSH remote on a Mac for IoT projects. From setting up SSH to securing your connections and troubleshooting common issues, you now have the tools and knowledge to manage your IoT devices effectively.
Key Takeaways:
- SSH is a secure and reliable protocol for remote IoT management
- MacOS provides built-in support for SSH, making it easy to get started
- Best practices, such as using SSH keys and securing connections, are essential for maintaining security
We encourage you to experiment with SSH and explore its advanced features. Don't forget to share your experiences and insights in the comments section below. For more articles on IoT and networking, explore our website and stay updated on the latest trends and technologies.
References: